
Chatsworth - Peak District Walk
Tuesday 21st December 2021
With the Christmas holiday fast approaching we wanted to fit a walk in before it started and the crowds descended on the Peak District. After days of rain and fog the weathermen had predicted today would be sunny, so we decided to head out to do a walk around Chatsworth that would allow us to keep to good paths rather than walking through mud.
Anyone planning on doing this walk needs to note that the road from Beeley to Hell Bank Plantation is shut until at least August 2022 due to a landslip.
Start: Hell Bank Plantation (SK 2870 6805)
Route: Hell Bank Plantation - Rabbit Warren - Stand Wood - Emperor Lake - Chatsworth House - Derwent Valley Way - Beeley - Hell Bank Plantation
Distance: 7.5 miles Ascent: 272 metres Time Taken: 4 hrs 15 mins
Terrain: Clear paths
Weather: Overcast
Pub Visited: None Ale Drunk: None
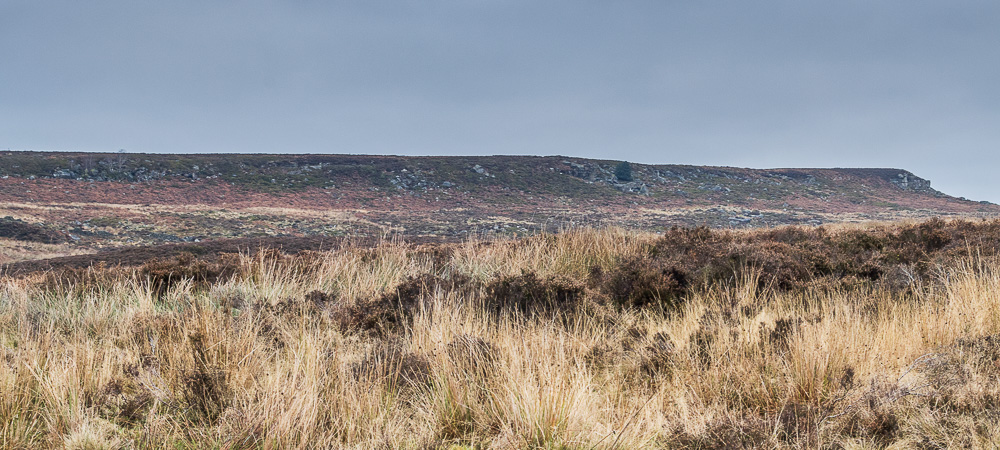
As we arrived at the parking spot the promised sunny spells showed no sign of appearing and it was looking rather grey over Harland Edge.
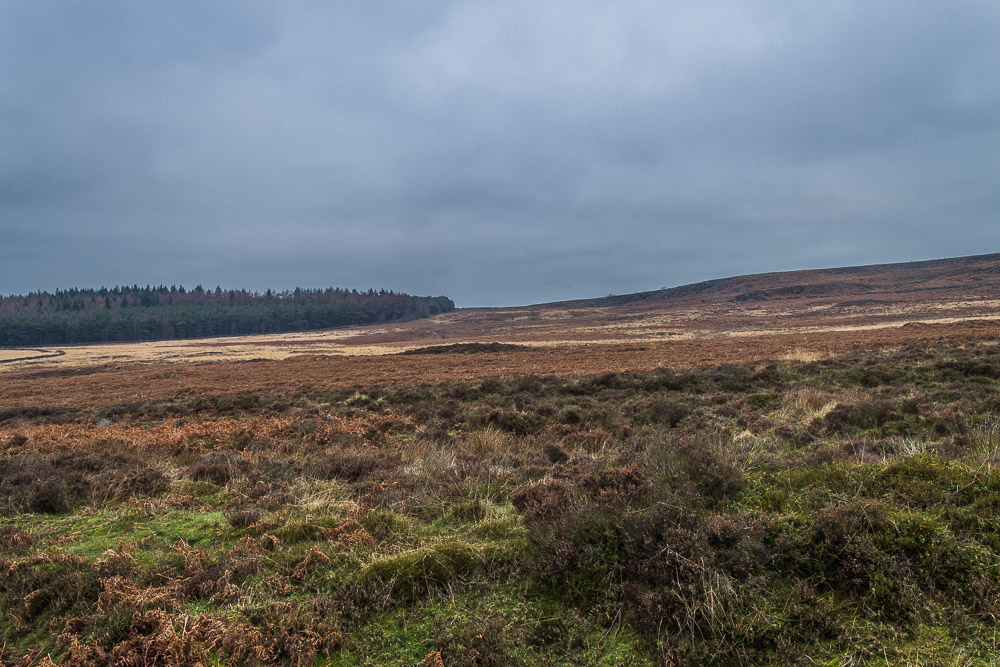
Looking across Harland Sick to the location of Hob Hurst's House, with Harland Edge to the right and Bunker's Hill Wood to the left.
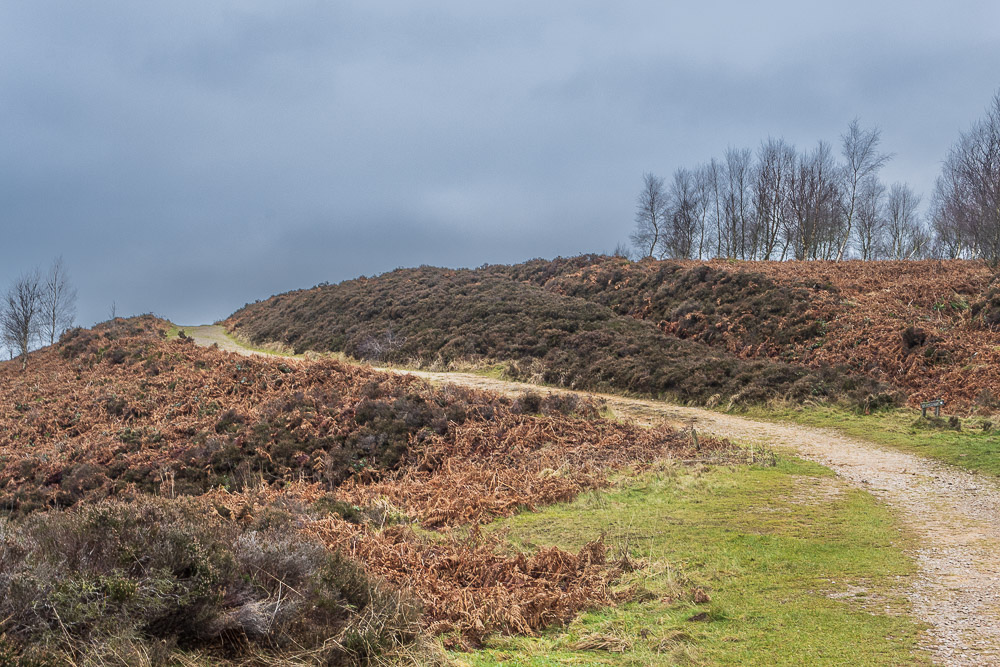
Having negotiated the stone stile we start out along the track onto Rabbit Warren with no real hope that the sun will appear any time soon.
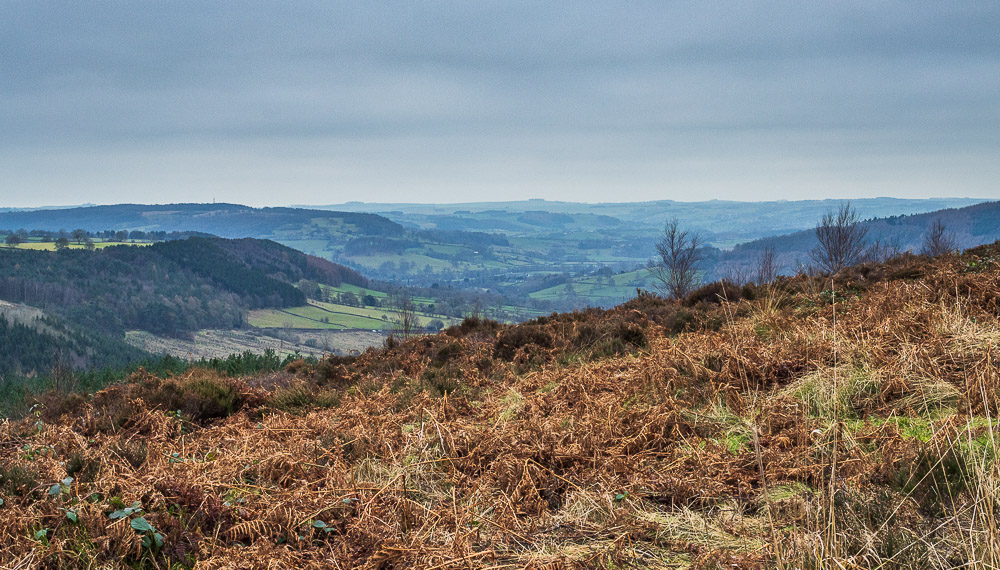
As we reach the top of the path the view opens up and Stanton Moor comes into view, along with views down the Wye Valley.
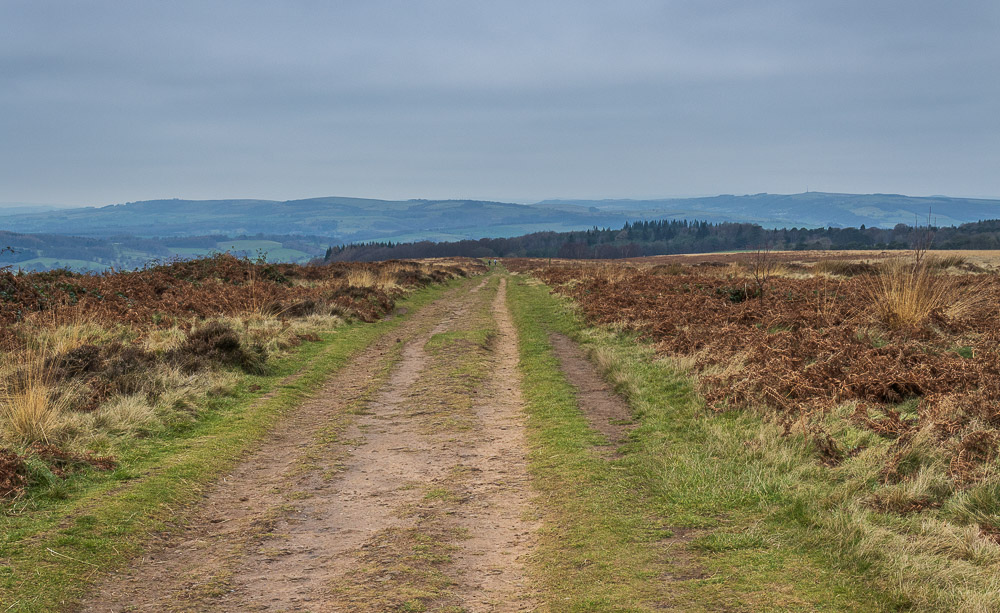
Heading along Rabbit Warren and Longstone Edge can just about be made out through the gloom.
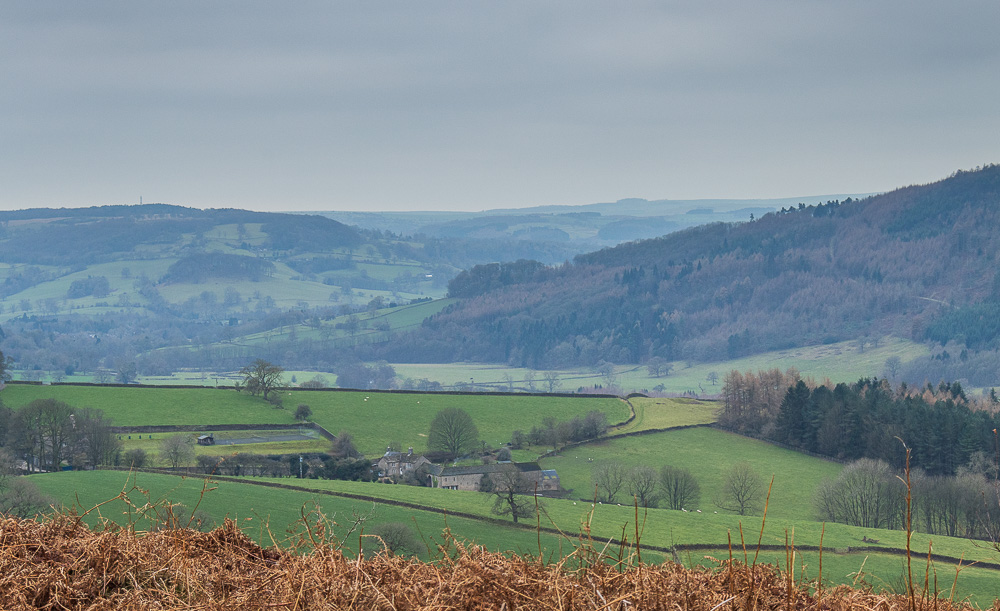
As we are about to enter the grounds of Chatsworth I look across to Stanton Moor and then notice how clear the tracks appear in Lindop Wood.
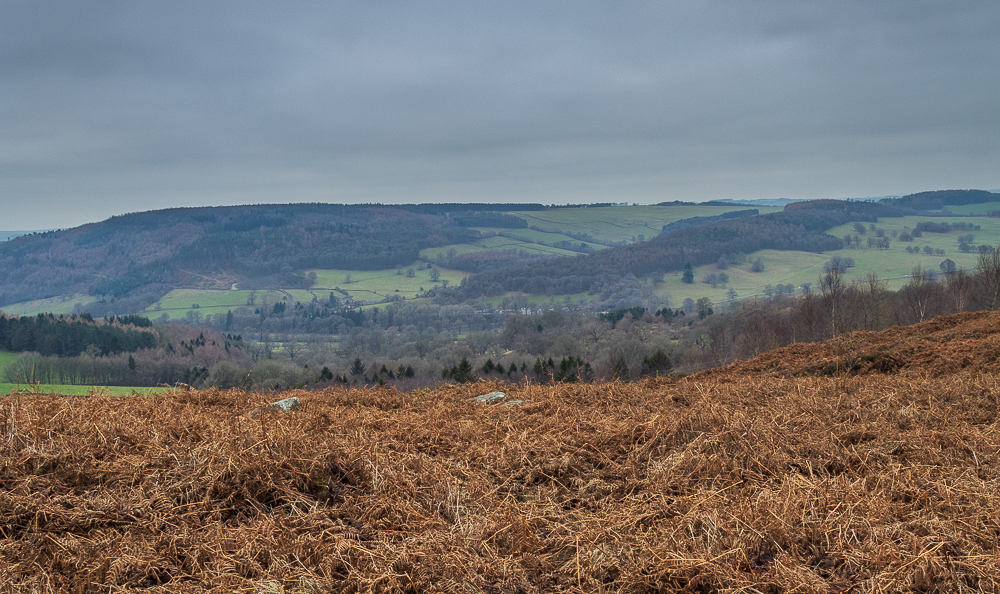
Looking across at Calton Pastures I wonder how long it is since I last walked there. The need to pre-book your parking at Chatsworth since Covid arrived is one reason I've not been there for a while, but that may change now that the Calton Lees car park is back to a first come first served basis.
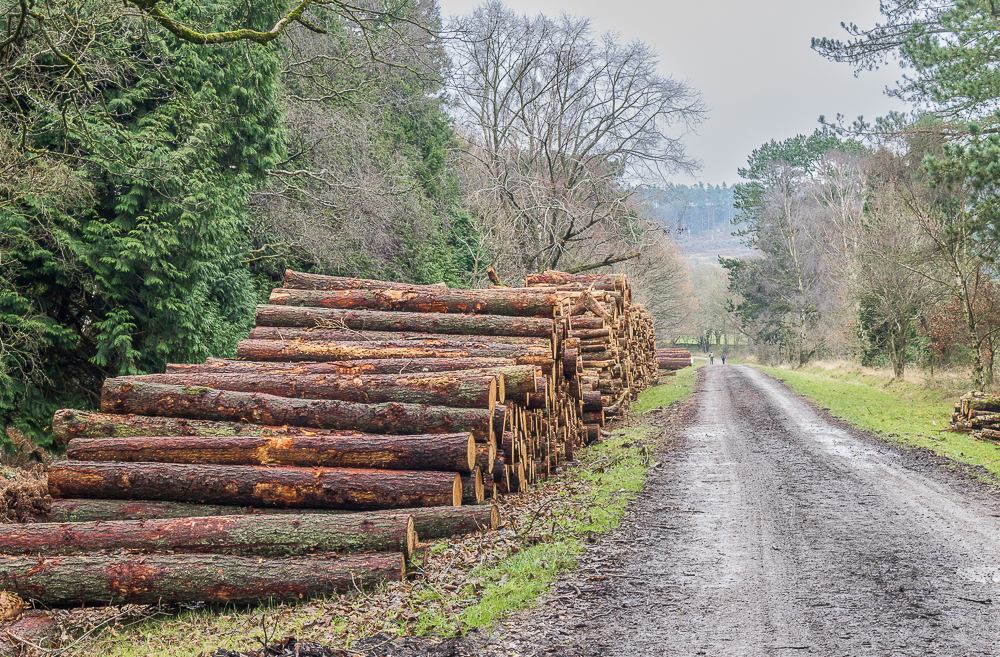
As we head through Stand Wood we pass numerous piles of wood, which signs inform us have been caused by the presence of Phytophthora ramorum, a highly infectious plant disease. Other areas are fenced off as they have recently been replanted.
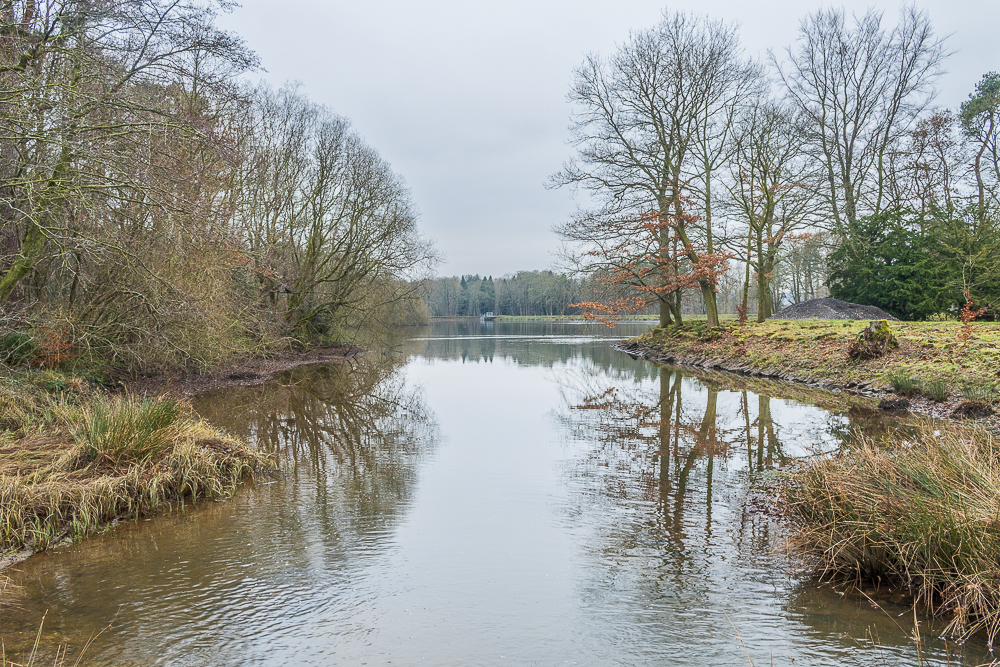
As Swiss Lake is now completly dry we pass it by and continue onto Emperor Lake.
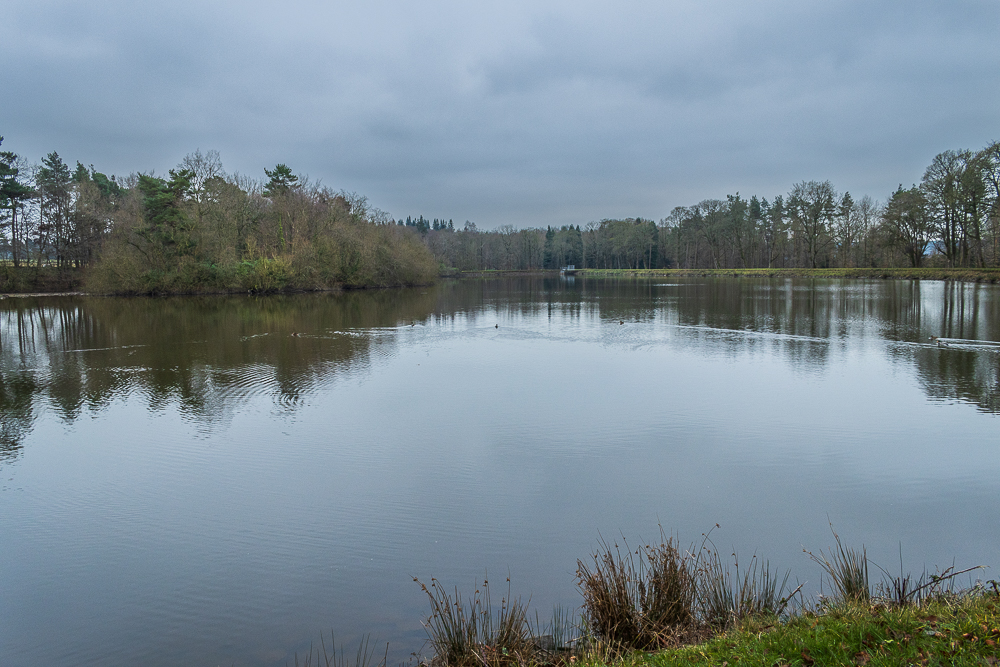
The bench by the lake was occupied so we leave the occupants to enjoy watching the ducks and hope that the benches at the Hunting Tower might be empty.
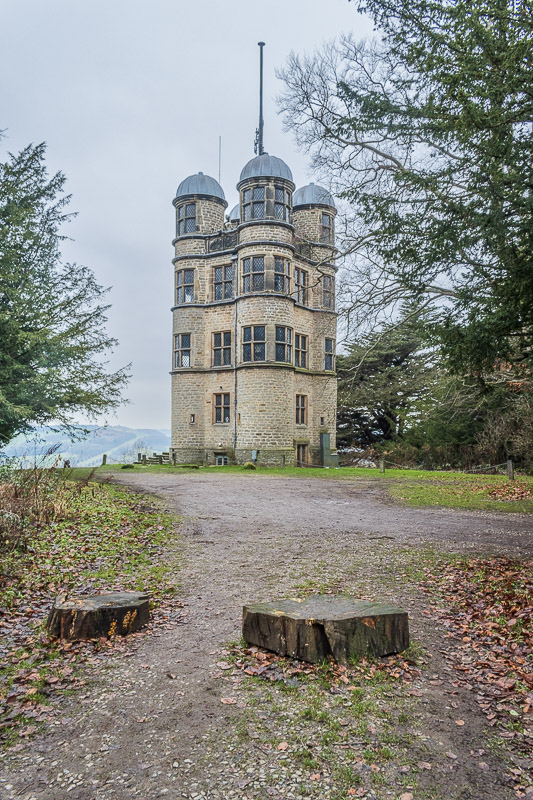
A few minutes later and the Hunting Tower comes into view
and given how few people we have seen so far we are hopeful
of grabbing an empty seat.
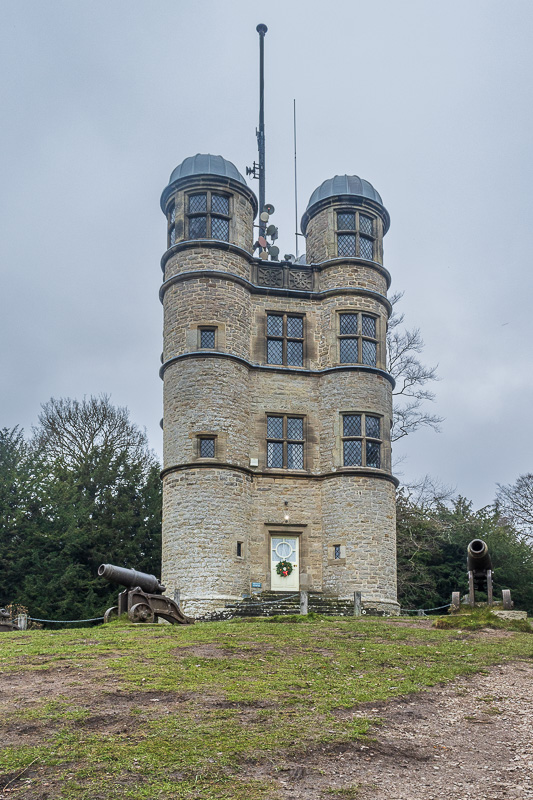
We are in luck and we have a choice of seats. It looks like the tower is ready for Christmas.
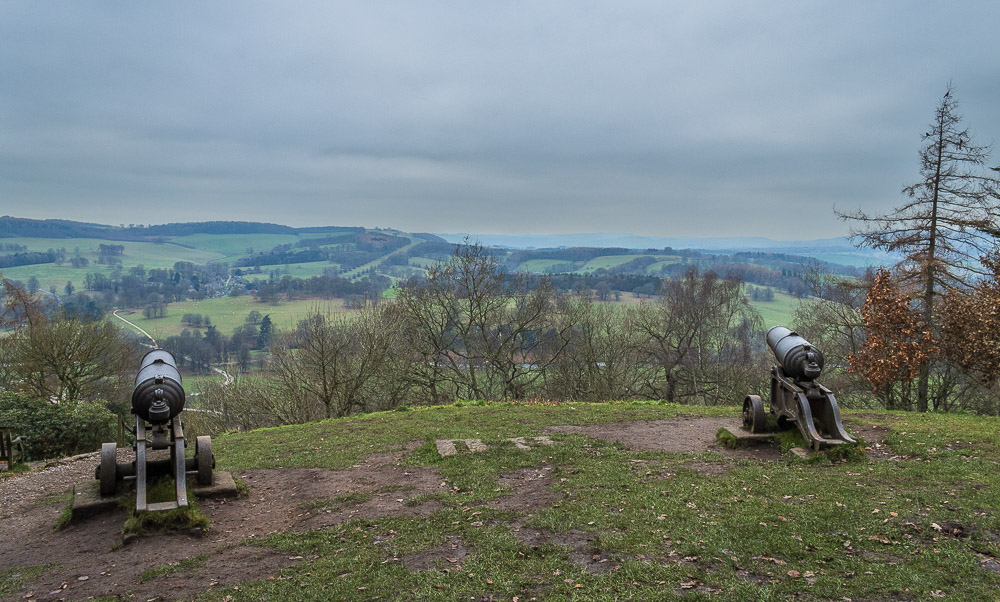
Time to sit and enjoy the view across the estate to Edensor. Whilst we sit there we can't help but notice the number of cars driving up to the house.
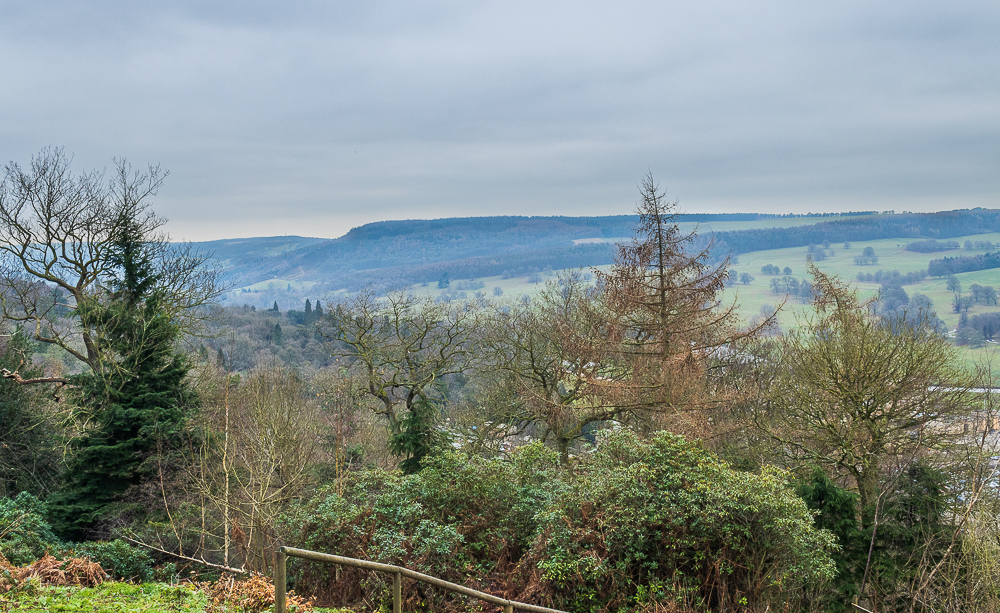
From the seat our view also extends across Calton Pastures to Manners Wood.
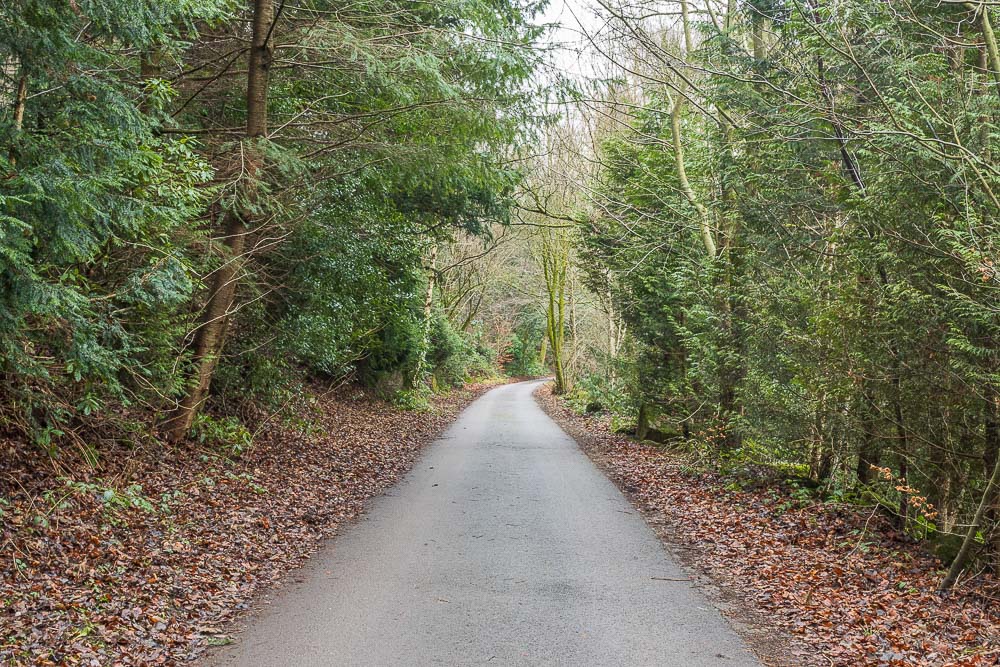
Rather than take the steps down to the house we opt for a walk along the tracks through Stand Wood.
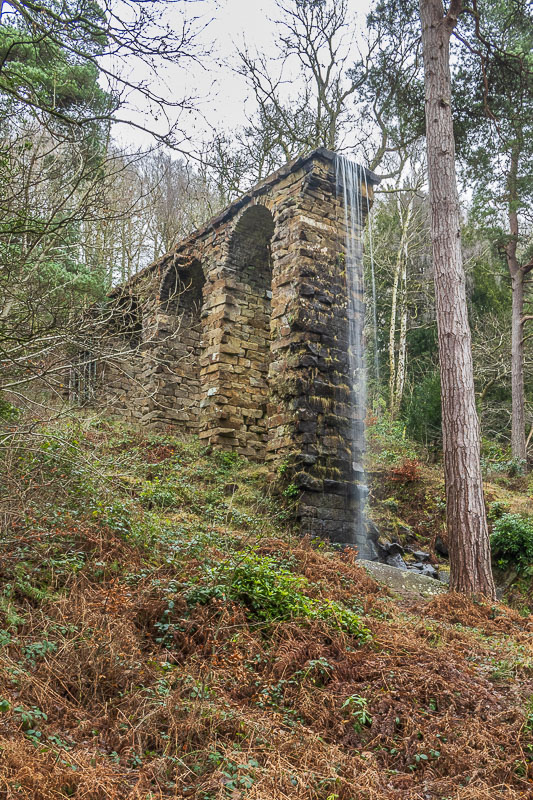
Going this way means we pass the Aqueduct, which forms part of the water
flow for the Cascade in the formal gardens.
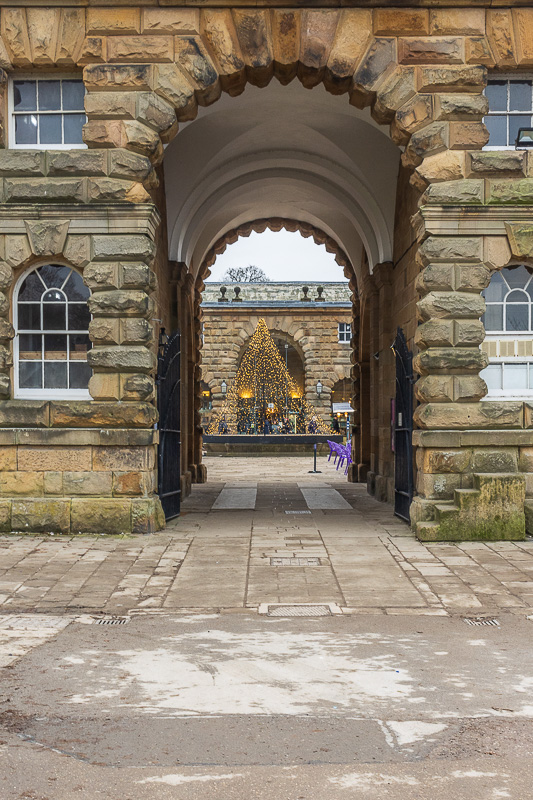
Unlike Stand Wood the Stables is very busy and it takes a while to get a
shot of the Christmas decorations without anyone in front of them.
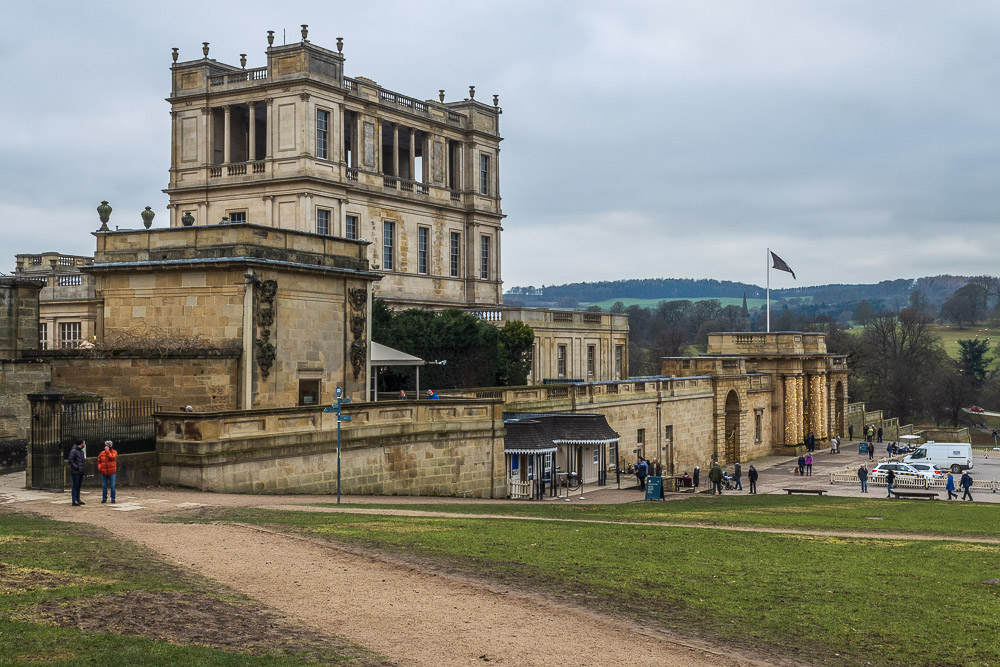
The main house is clearly busy as more people are arriving than leaving.
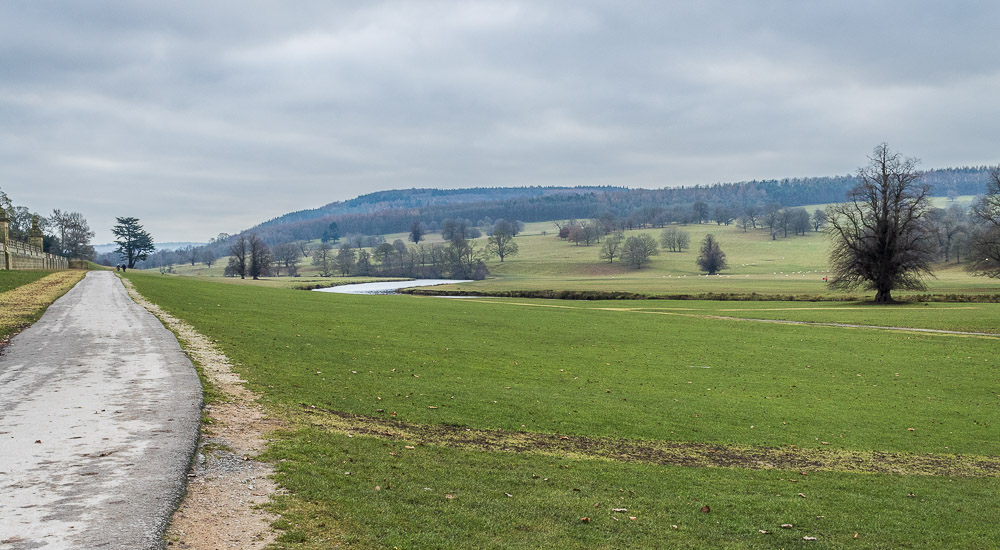
We don't hang around for long and instead head down towards the River Derwent, leaving the crowds behind.
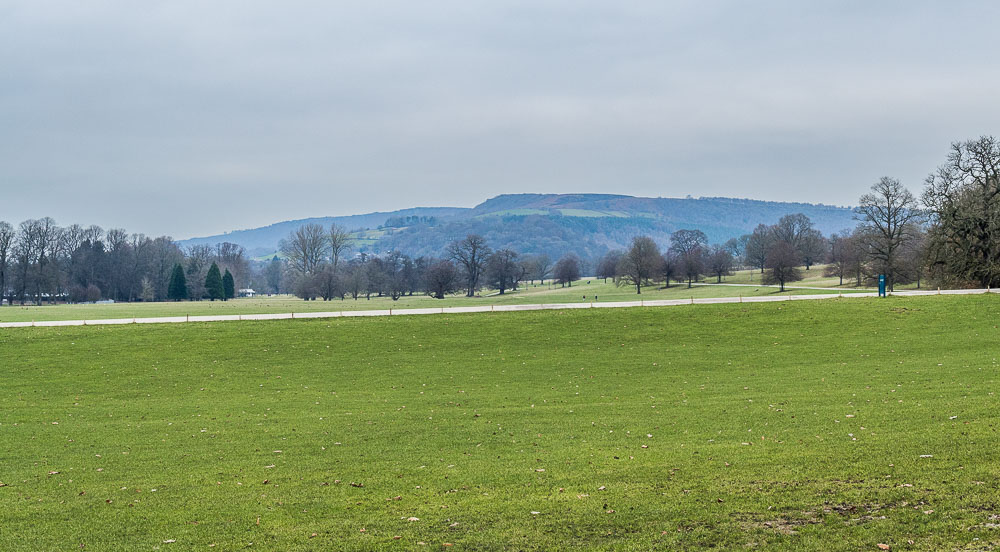
It has remained so dull that even my favourite view of Baslow Edge is somewhat disappointing.
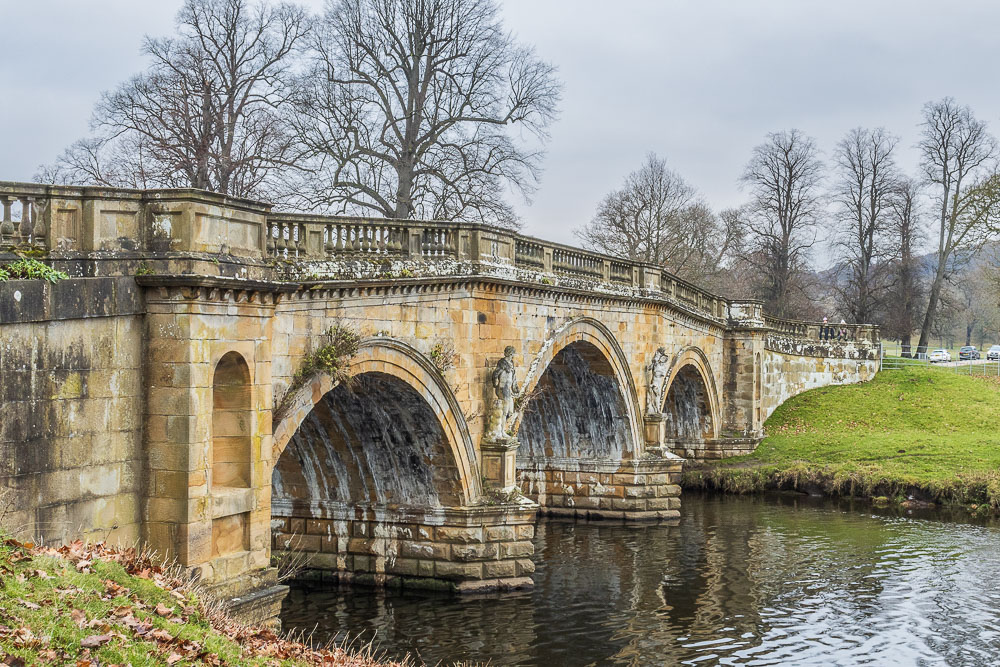
No great reflections of the Three Arch Bridge today, in fact catching it without any traffic on it took some time.
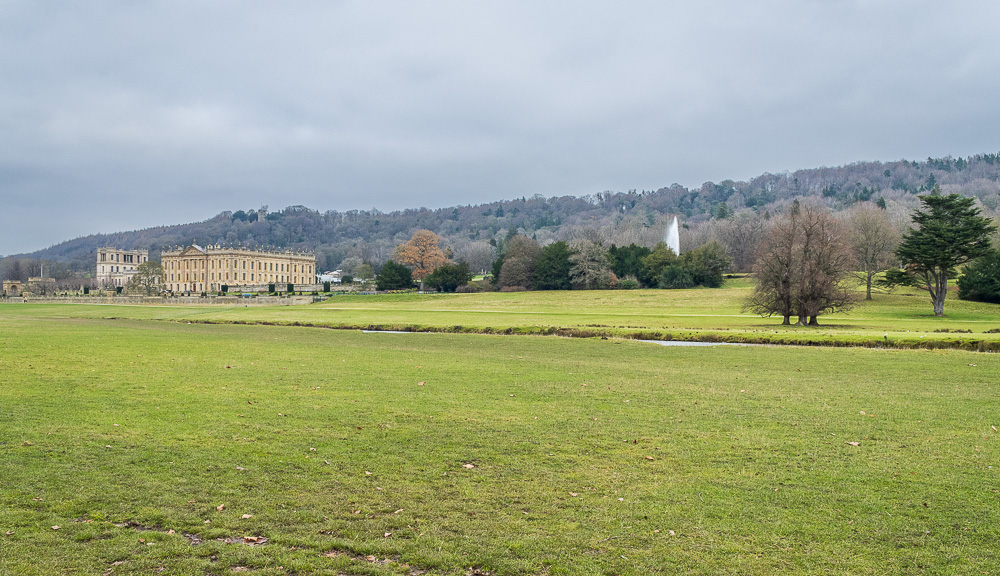
Heading along the Derwent Valley Way we enjoy a view of the fountain and the house.
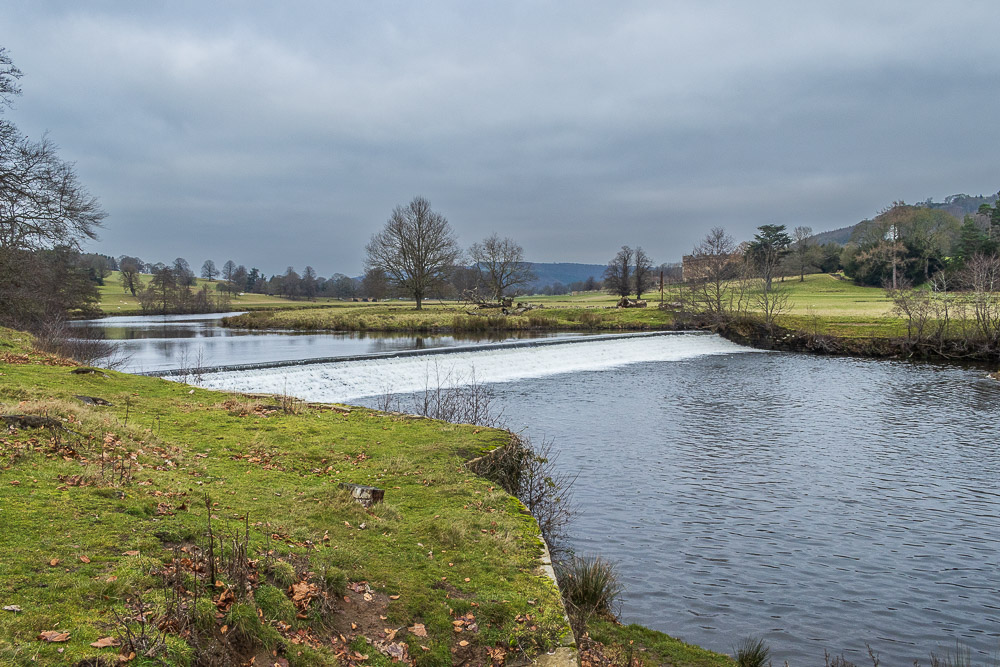
Walking alongside the River Derwent we are hoping to find a bench as a suitable lunch spot.
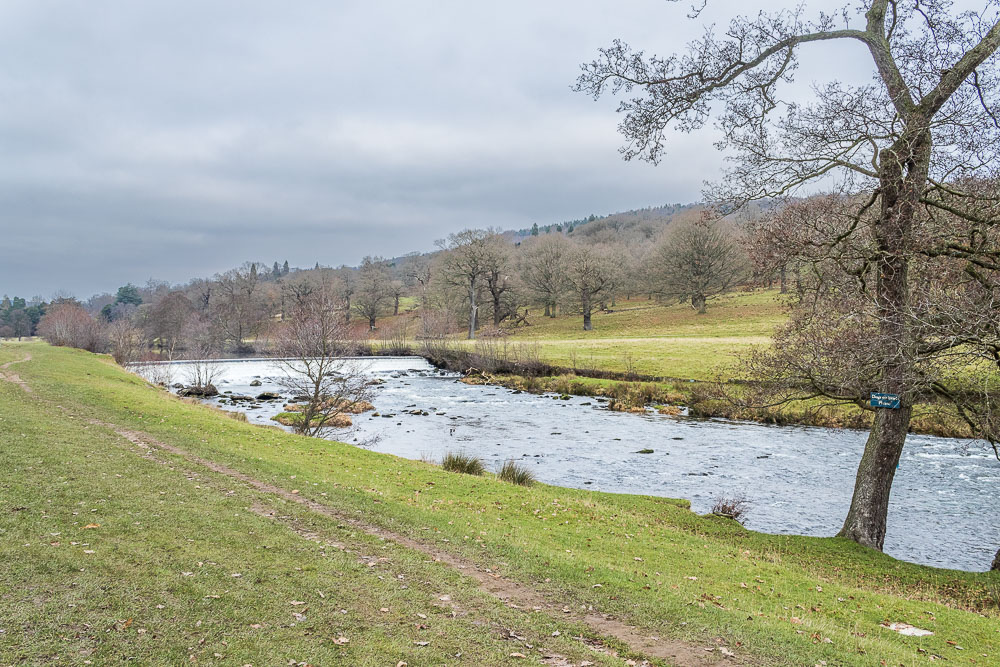
We end up sat at the picnic tables close to the remains of the old mill.
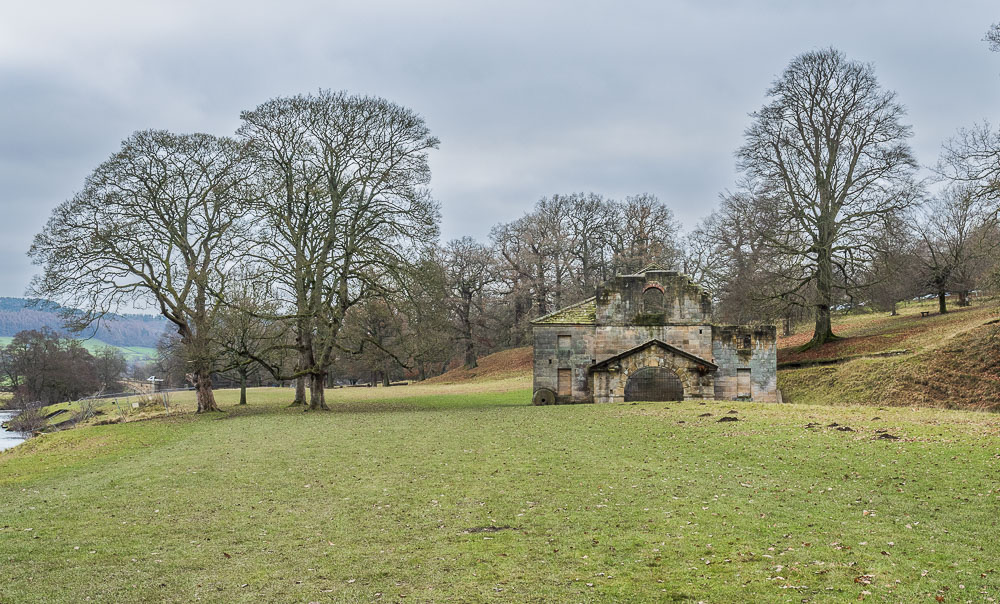
Like the two bridges the mill was designed by James Paine, although it was badly damaged by falling beech trees in 1962.
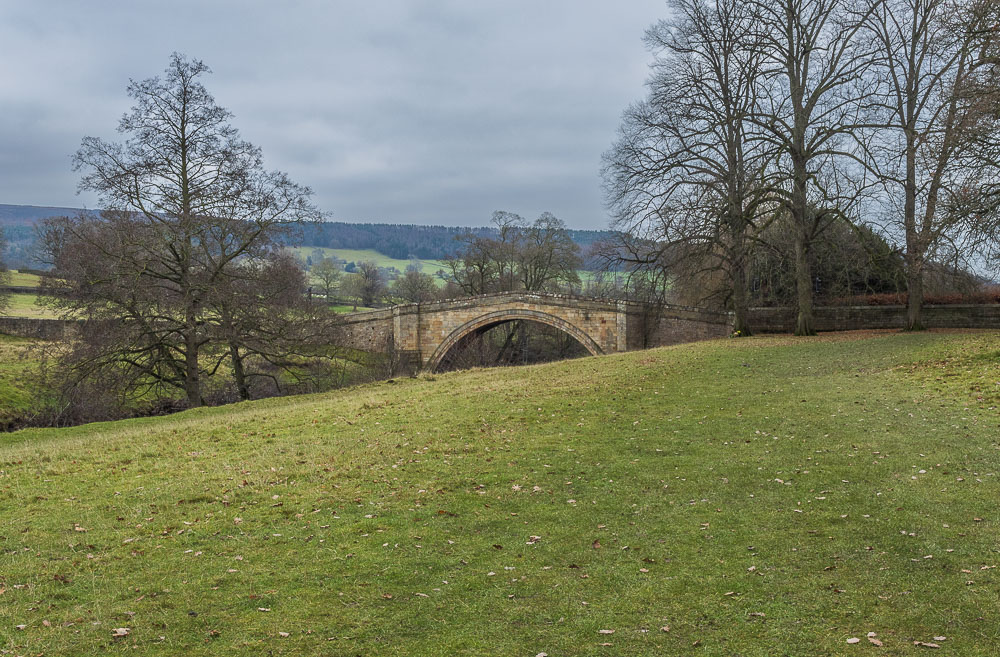
As we head towards the gate out of the park we notice some flowers on a tree next to Paine's One Arch Bridge. There is a name on the tree but no other information about who they are for.
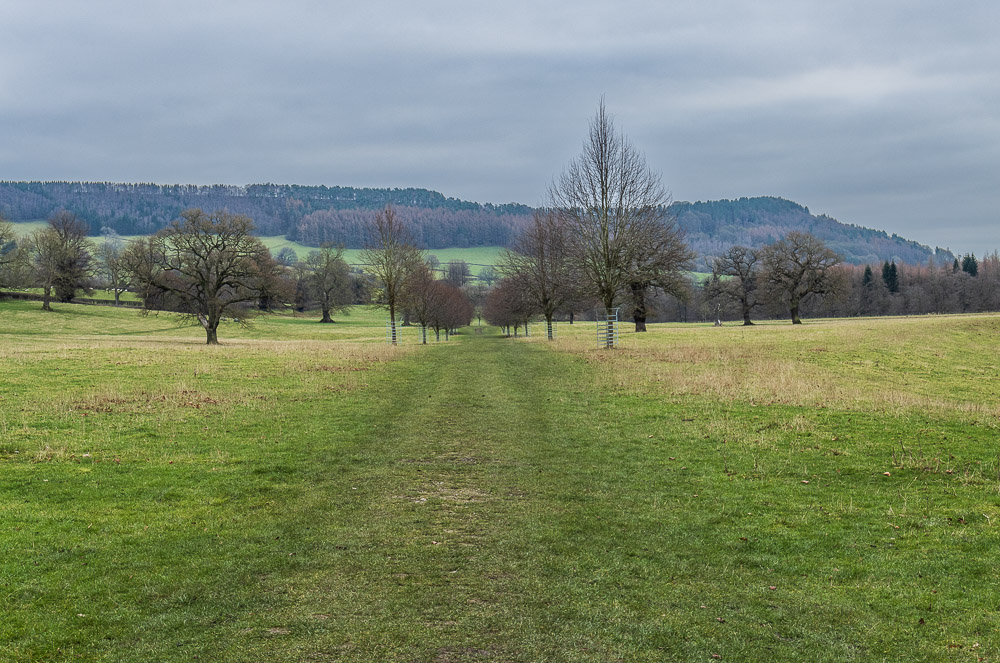
Having left the estate we have to decide which route we are taking back to Hell Bank. Given the time available we opt for the slightly longer route via Beeley and through Hell Bank Plantation.
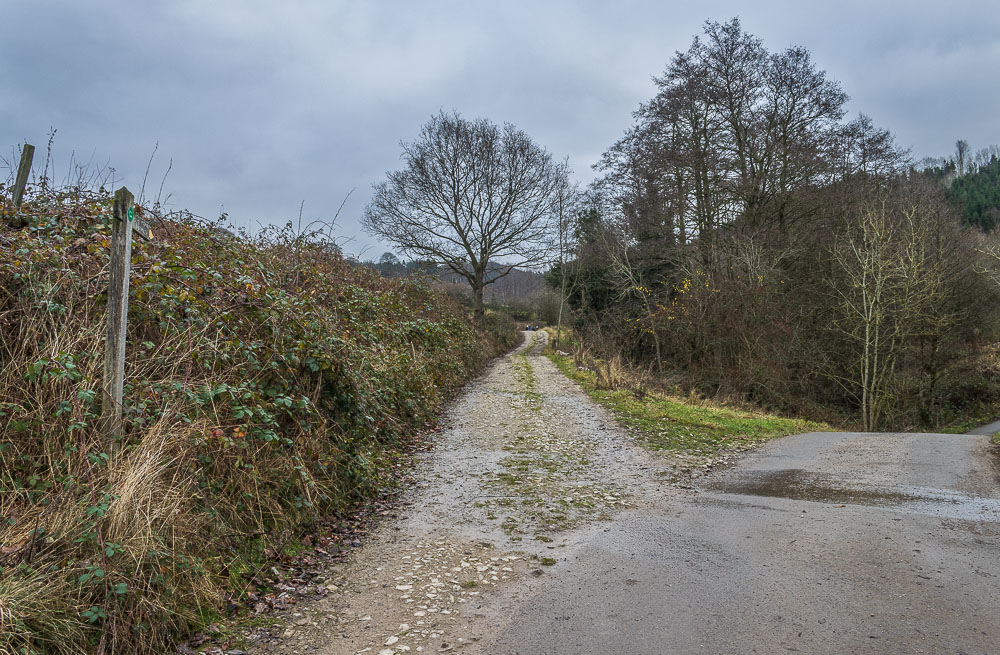
The track leaves the tarmac lane at the entrance to Moor Farm and the final steep climb to Hell Bank and the car isn't far away.
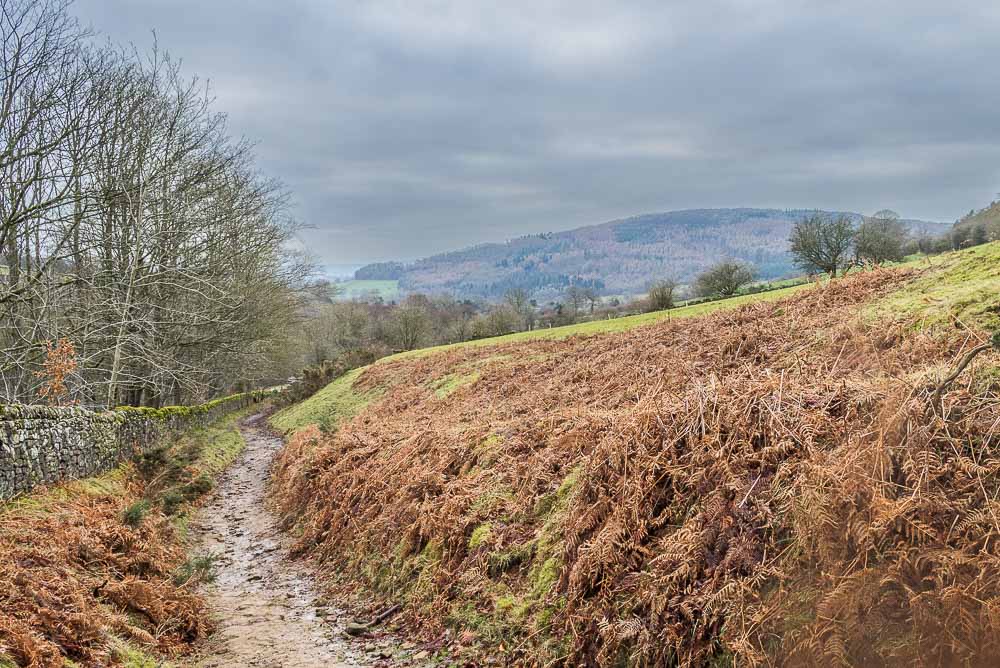
A final look back as the track enters Hell Bank Plantation and there is still no sign of the promised sunny spells.
As we arrived home the sun finally put in an appearance, just in time for sunset.
All pictures copyright © Peak Walker 2006-2023